A client price is the trade cost plus your markup, and you can show it without revealing either one. Set it per option as trade cost × (1 + markup %), or, if you plan by margin, as trade cost ÷ (1 − margin %). Show the client only the result, and keep the trade cost, the markup and the supplier in your own records. Before you set a single number, learn the difference between markup and margin. A 30% markup is not a 30% margin, and confusing the two takes money out of every line.
Markup and margin are different percentages
Both describe the same dollar gap between what you pay and what you charge. What differs is the base each percentage is measured against.
- Markup is “the amount by which the cost of a product is increased in order to derive the selling price,” measured against cost (AccountingTools). The U.S. Chamber of Commerce gives the formula as (sales price − unit cost) ÷ unit cost × 100.
- Margin is “sales minus the cost of goods sold,” measured against the selling price (AccountingTools).
Both sources use the same example: a product that costs $70 and sells for $100 earns $30, which is a 30% margin but a 42.9% markup.
To convert between them (AccountingTools):
- Markup % = Margin % ÷ (1 − Margin %)
- Margin % = Markup % ÷ (1 + Markup %)
| Margin | Equivalent markup |
|---|---|
| 10% | 11.1% |
| 20% | 25.0% |
| 30% | 42.9% |
| 40% | 66.7% |
| 50% | 100.0% |
Here is the mistake in dollars. Say an item’s trade cost is $1,000 and you want a 30% margin. If you apply a 30% markup by mistake, you charge $1,300, and your margin is $300 ÷ $1,300, or 23.1%. To actually reach a 30% margin, the price is $1,000 ÷ 0.70, or $1,428.57. That’s a $128.57 difference on one item.
Check what your agreement says first
How you may price products depends on the agreement with the client, and designers use several models. ASID’s Minnesota chapter lists fixed fee, hourly fee, cost plus, per square foot (for larger commercial work) and retainer as ways designers are compensated. It notes that a common current approach is an hourly rate for design services combined with cost plus or a fixed fee for products and services. It also says plainly: “There is no such thing as a ‘typical’ or ‘customary’ fee for an interior designer.”
Two of those models change what “hiding the trade price” means:
- Cost plus. ASID describes it as buying at cost and selling “at the designer’s cost plus a specified percentage agreed to with the client.” If your contract says that, the client has agreed to a percentage over your cost and may reasonably expect to see the cost. Showing a single client price is still clearer during selections, but your records have to support the agreed calculation.
- Fees on merchandise. ASID’s 2018 residential contract user guide includes forms where merchandise is billed at the designer’s net cost or at the vendor’s quoted price “without any additional Designer markup,” with a separate purchasing fee calculated as a percentage of net cost, of established list price, or of the vendor’s quoted price.
Keeping trade prices on the studio side fits fixed-price selling, where you quote a price per item and the client accepts or declines it. Under any model, the price on the presentation should match the method in the contract. ASID’s guide notes it isn’t legal advice, and neither is this article. Have your attorney review the agreement.
How to set a client price for each option
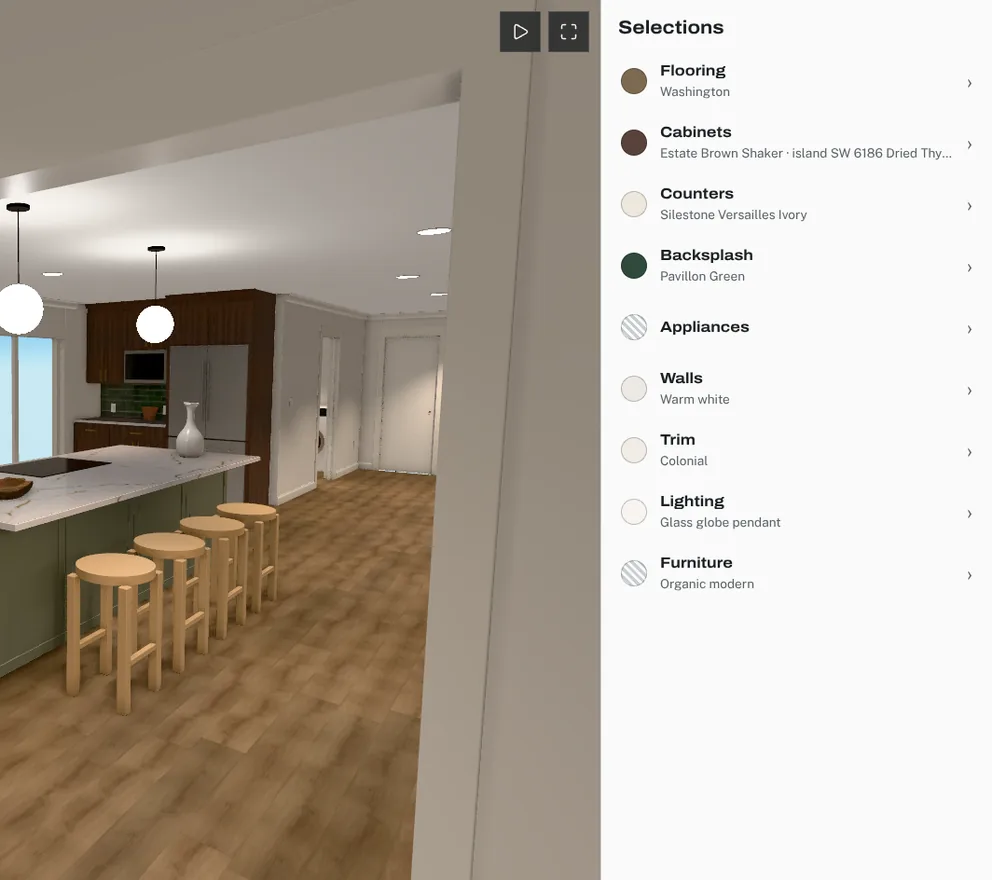
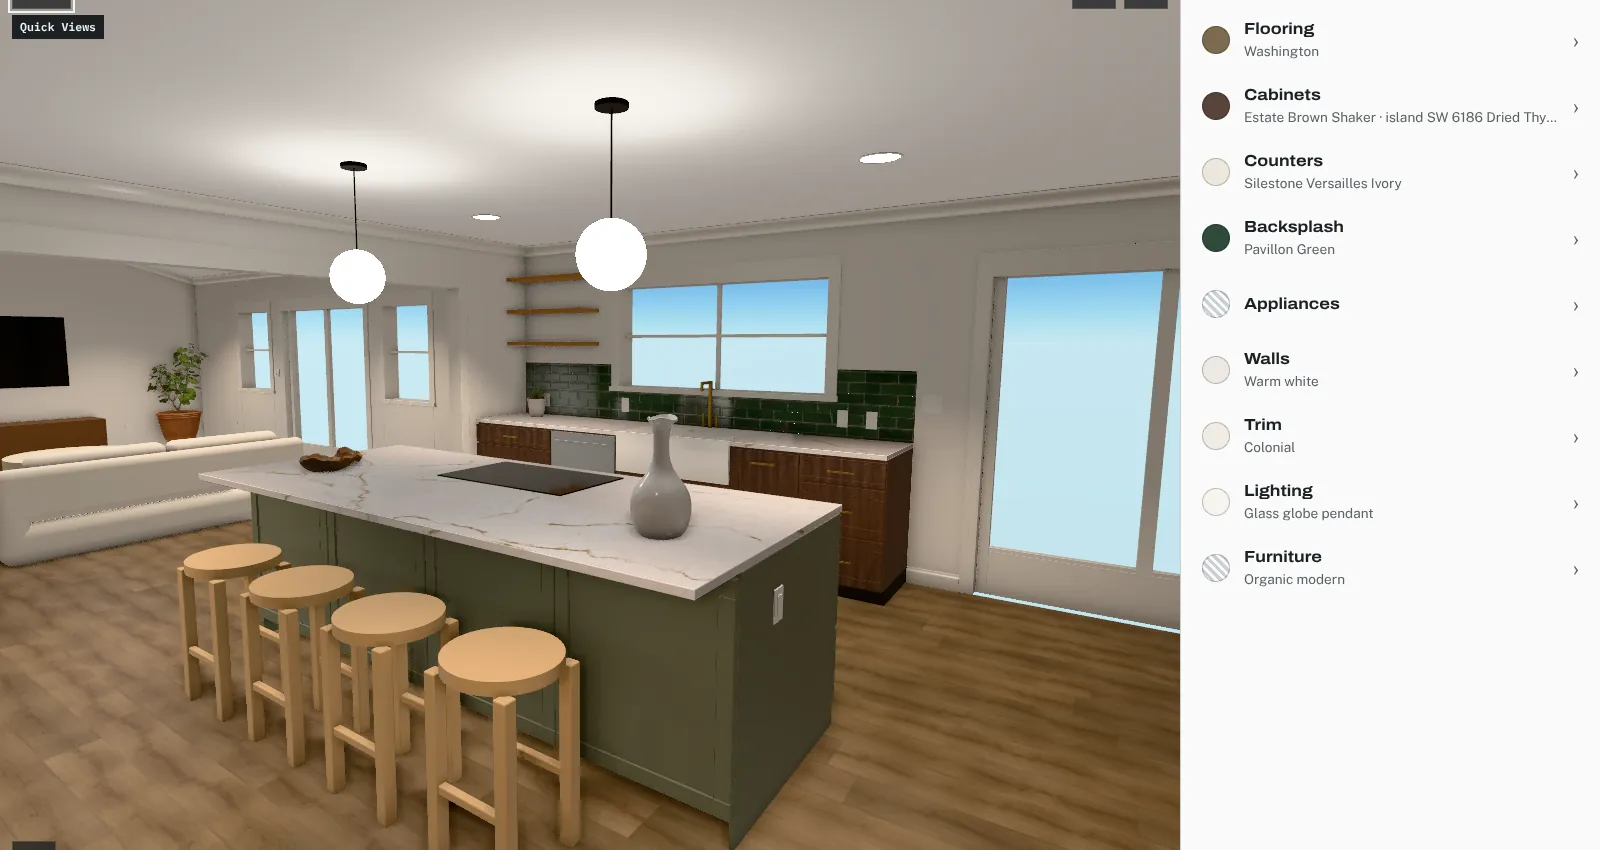
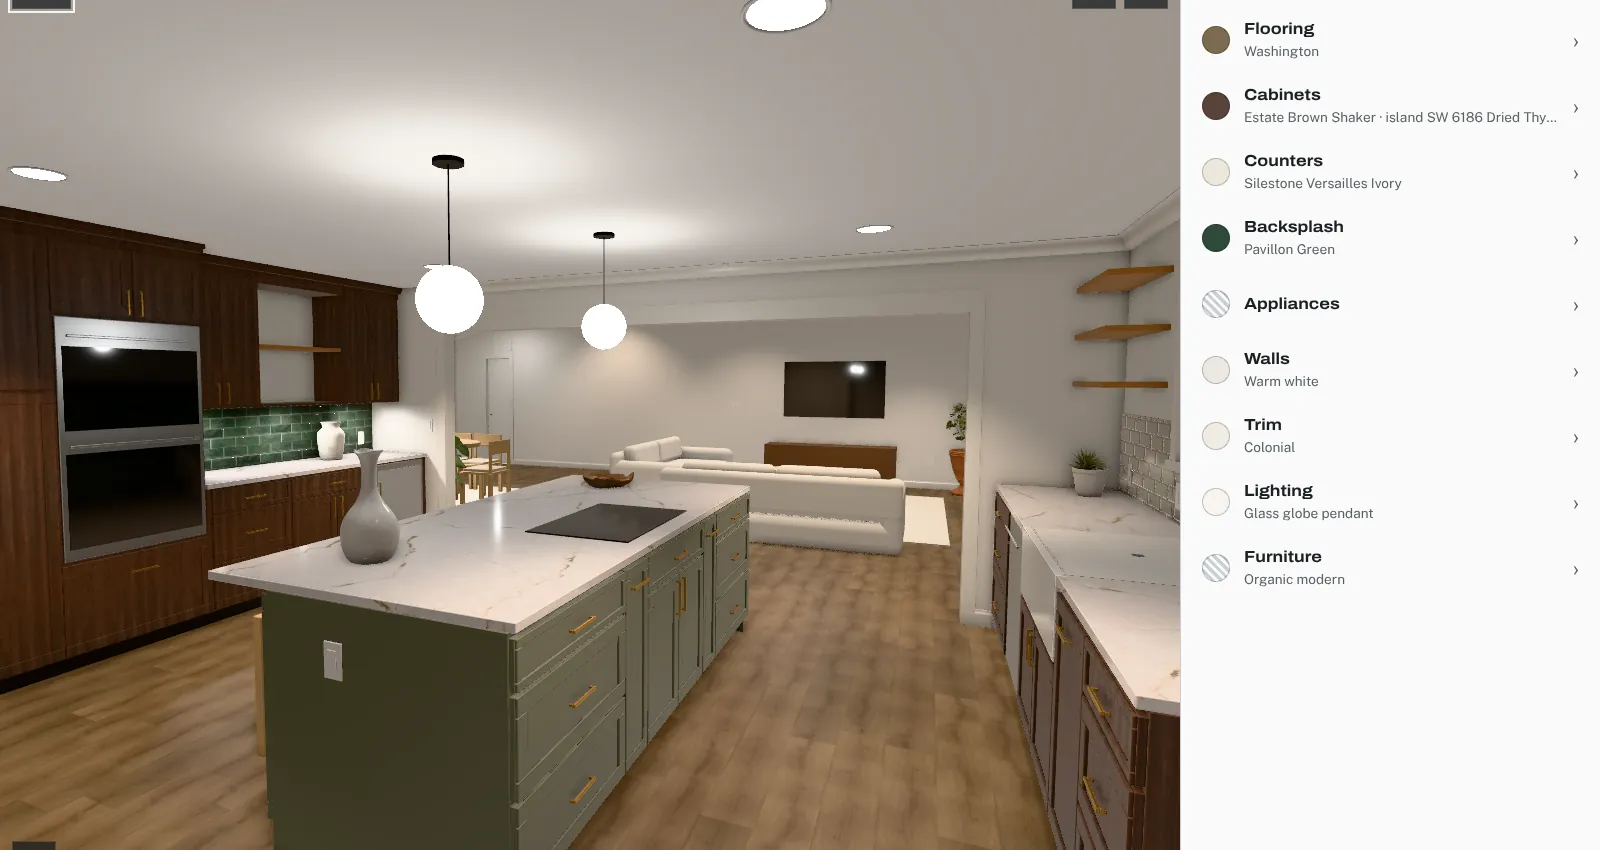
Price in the unit the item is bought in. In the kitchen remodel Coffered was built around, every category had its own unit: countertops and backsplash by the square foot, cabinets by the linear foot, pendants and recessed lights by the fixture, and flooring by the square foot converted to whole boxes with a 10% waste allowance. Pricing in the purchase unit keeps the client price honest when quantities change.
Get quantities from the drawings, not the showroom. The remodel’s full-height backsplash option added 23.2 square feet of tile at the sink wall, calculated from the elevation (a 130” wall with a 70” × 34” window). Its herringbone layout carried a note that it adds cuts and waste. Option-driven quantity changes belong in the option’s price, not in a surprise change order later.
Round to what you can actually buy. Flooring is a good example. Here’s a hypothetical: a 250-square-foot room plus 10% waste needs 275 square feet. One of the remodel’s planks came in boxes of 25.52 square feet, so that’s 10.78 boxes, which rounds up to 11. If the trade cost were $50 a box, the material would cost $550, and a 25% markup would put the client price at $687.50. The client sees $687.50 for that option. Your records show 11 boxes, $50 each, the markup and the supplier.
Apply markup by category, not one rate for everything. Nothing requires a single markup across the job. If you price cabinets and lighting differently, store the rate with each option so the client price recalculates when the trade cost changes.
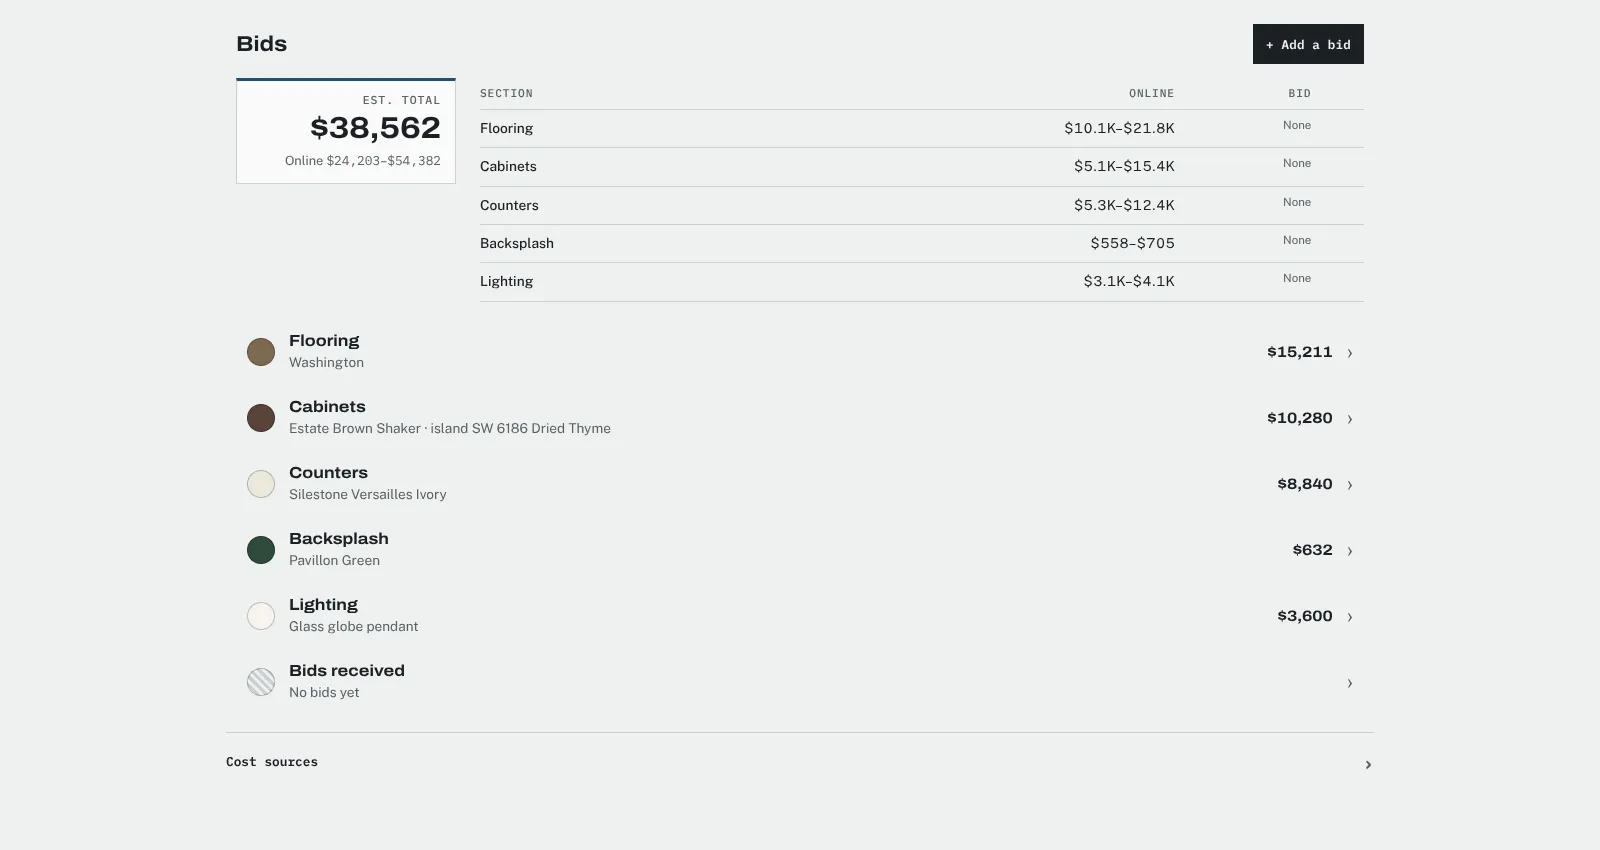
Label allowances as allowances. When you don’t have a firm quote yet, say so. The remodel’s estimate showed low and high values from published cost sources for categories without a quote, and it flagged one flooring option as needing a quote before its material could count toward the total. A price labeled as an estimate is better than a firm-looking number that changes.
Show a running total. Each option’s price matters most next to the total it changes. When the client switches countertops, the total should move right away.
Why trade price, markup and supplier stay on the studio side
The client decides between options, not between margins. Selections go faster when each option shows one price: the client’s. Trade costs and percentages add numbers to the presentation that don’t help anyone pick a tile.
The supplier is part of your service. Sourcing, ordering and handling returns are work. If the supplier and the trade price appear next to each option, the presentation becomes a shopping list the client can take elsewhere.
One source of truth prevents leaks. A trade price can leak through a copy as easily as through the presentation: a forwarded spreadsheet, a PDF with a hidden column, a supplier quote attached to an email. Keep the trade cost in one studio-only record and let the client price be calculated from it.
Transparency still matters. The U.S. Chamber advises being transparent with customers about why prices increase. Keeping trade prices private doesn’t mean being vague. Explain what the price includes (material, waste, installation if it’s in there), state the unit, and say when a number is an estimate.
Where Coffered fits
In Coffered, the designer binds finish options to tagged surfaces with a client price on each. The client sees each option’s client price and a running total in the client design center. Trade prices, markup and suppliers stay on the studio side and never reach the client.