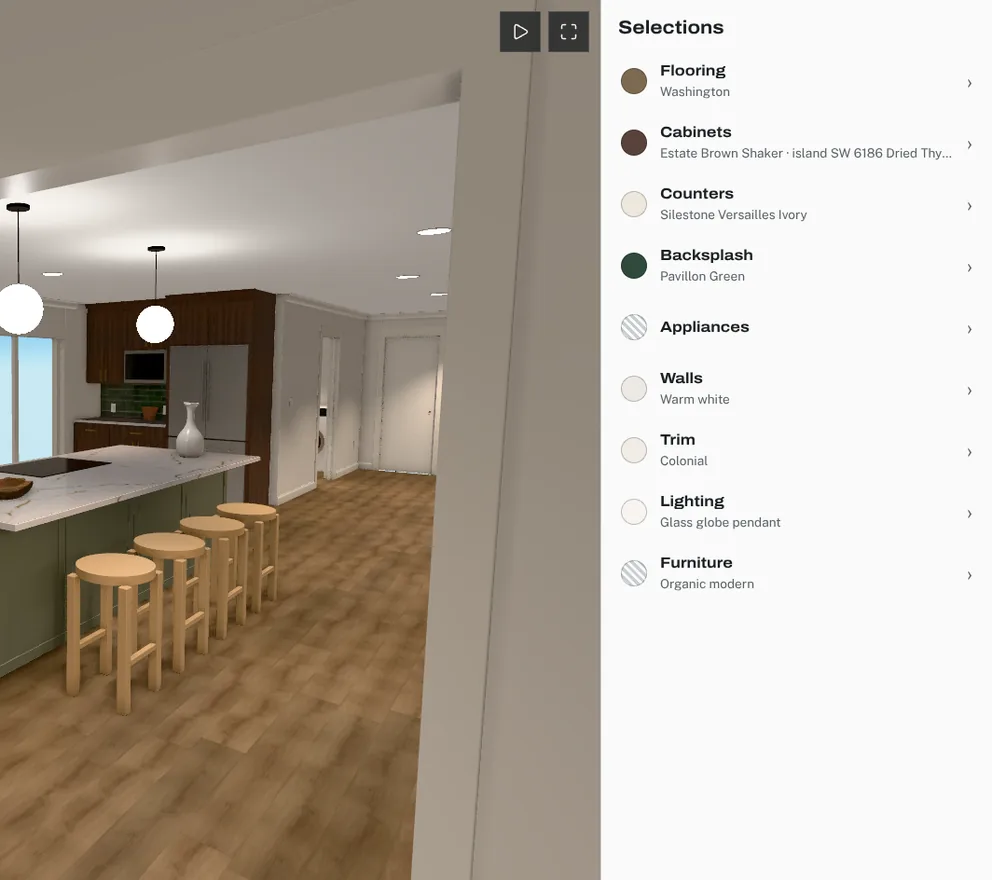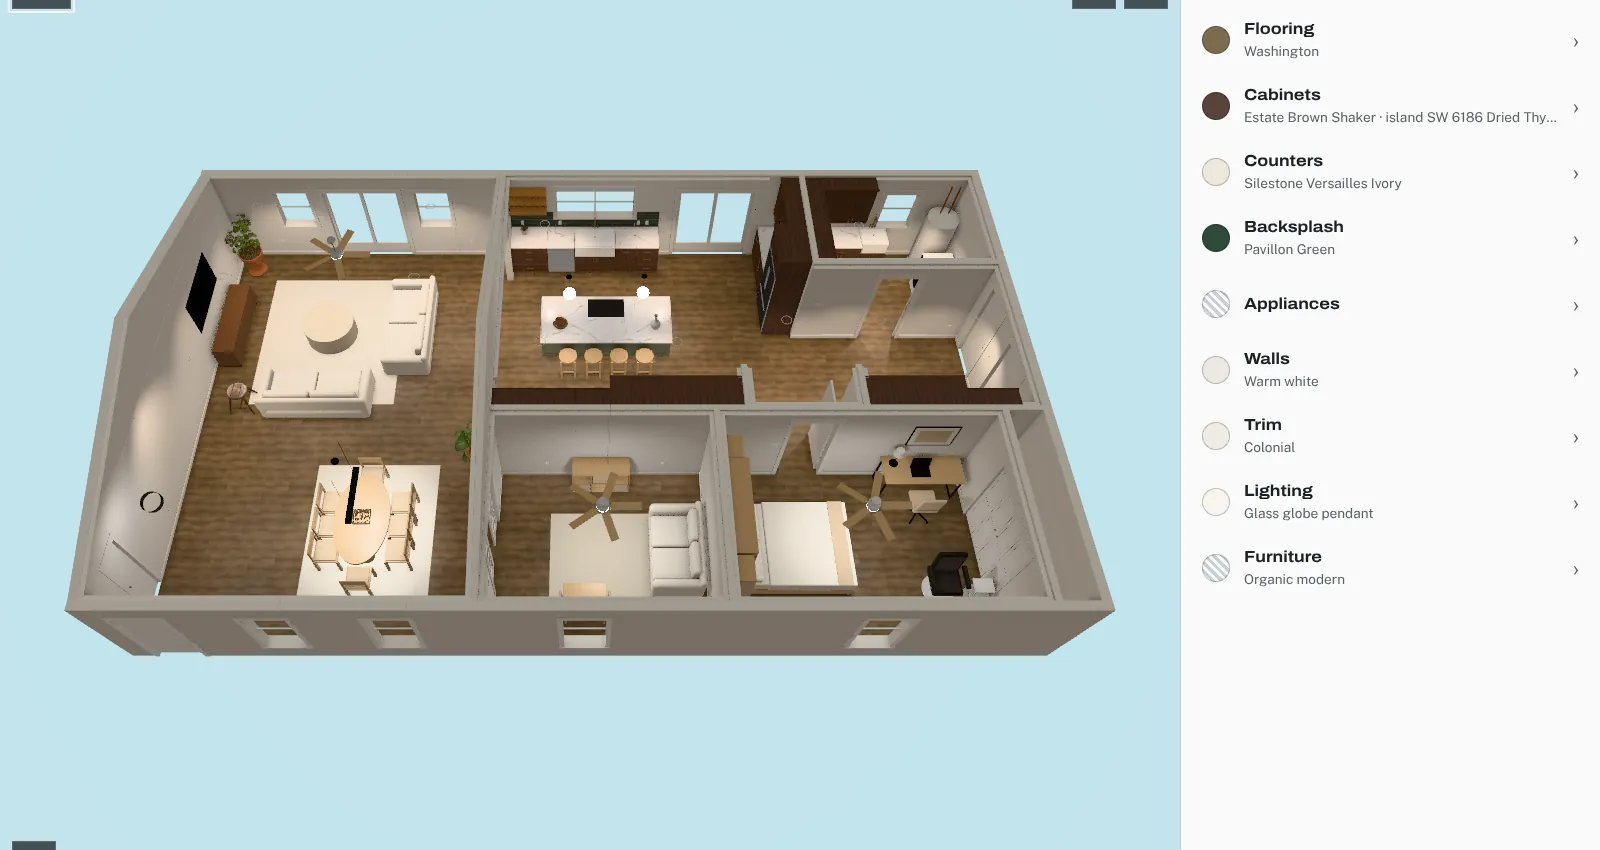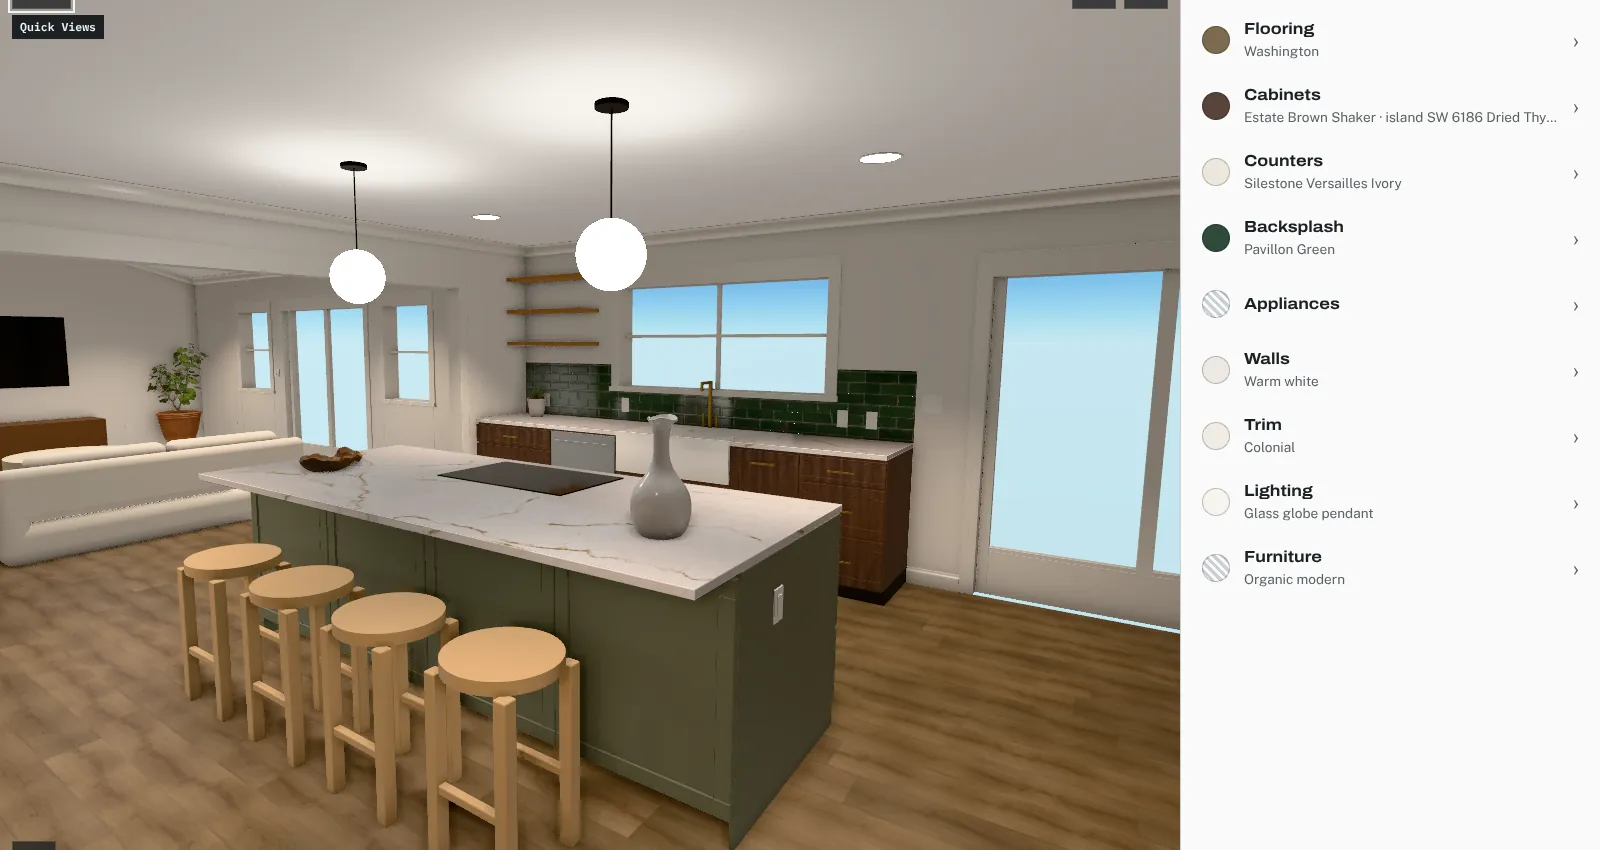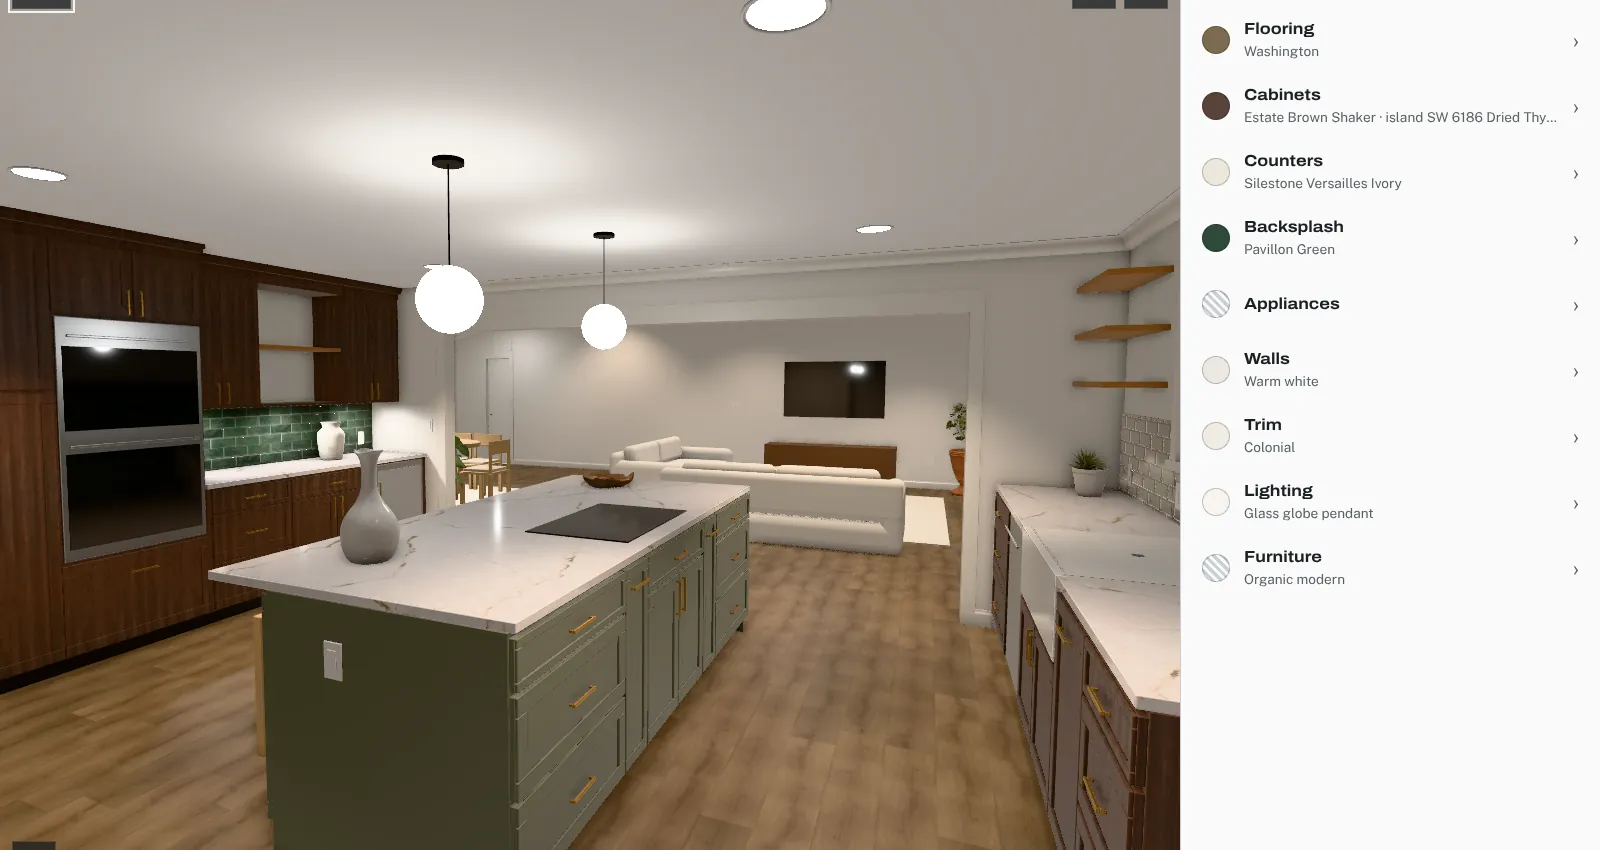
To get a Chief Architect model into a web 3D viewer, export it as COLLADA with File > Export > 3D COLLADA Model while a camera view or overview is open. The DAE is the only one of Chief’s four 3D export formats that carries materials and textures along with the geometry. If your viewer takes DAE, upload the .dae file together with its texture folder. If it only takes glTF or GLB, open the DAE in Blender 4.5 and export it as GLB. Blender 5.0 removed COLLADA import, so the newest Blender can’t do this step.
Chief Architect’s 3D export formats
The Chief Architect Premier X18 Reference Manual says the 3D model, or any part of it, can be exported in four formats:
| Format | Menu item | Materials and textures |
|---|---|---|
| 3DS | File > Export > 3D Model (3DS) | Textures saved as image files next to the .3ds |
| DAE (COLLADA) | File > Export > 3D COLLADA Model | Textures saved in a folder named after the file plus “_textures”; lights that are on are included |
| STL | File > Export > 3D Model (STL) | None: “does not include any material or texture information” |
| DXF/DWG | File > Export > 3D Model (DWG/DXF) | None: surfaces become 3DFACE entities without material data |
STL and DXF/DWG are out for client presentations, since a room without materials can’t show finishes. 3DS keeps textures too, and its export dialog offers to truncate names to the 8.3 format for applications that support only legacy .3ds files. COLLADA is an XML-based exchange format, it also carries the lights, and Blender 4.5 imports it with a built-in importer, so it’s the one to use.
Chief also has its own option, Export Chief Architect 3D Viewer File, which uploads the model to your Chief account for viewing in a browser or in Chief’s mobile app. You must be signed in, and up to 99 models can be stored at a time. It works well for showing a model as drawn. It’s a separate path from a file export: the model lives in Chief’s cloud, not in a file you can hand to another viewer.
Set up the view before you export
Chief exports what the current 3D view displays, so set up the view first.
- Open a camera view or overview. The manual requires one to be active before you export.
- Set display layers. “Make sure that everything that you want to export is set to display in the current view, and everything you do not want to export is not set to display.” Turn off furniture you don’t want, exterior terrain on an interior-only presentation, and annotation layers.
- Watch for deleted surfaces. Surfaces removed with the Delete Surfaces tool are not exported. That’s useful for cutting away a wall that blocks the camera, but it also means a wall you hid for a render will be missing from the file.
- Check manufacturer catalog items. “Some proprietary 3D data provided in Manufacturer catalogs cannot be exported,” and Chief tells you when the model includes protected data. Plan to substitute a generic object.
- Keep it light. For its own 3D Viewer export, Chief shows a surface count and texture size and warns that large values “can impact performance in the app,” and it suggests turning off unnecessary layers. The same advice applies to any browser viewer.
What the COLLADA file carries over
Geometry and materials. The DAE holds the model’s surfaces and their materials. Textures are saved as image files in a folder beside the .dae, with the same name plus “_textures.” Keep the .dae and that folder together, and don’t rename either one. If you zip them for upload, zip the pair.
Lights. “With the exception of Rope Lights, any light sources that are On in the current view, as well as ambient light, will be exported” to the DAE. Whether those lights are used depends on the viewer, so check how yours treats lights that arrive in the file before you rely on them.
Units. A COLLADA file declares its unit system, and the importer decides what to do with it. Blender’s COLLADA importer has an Import Units option: off, it rescales the data to Blender’s current unit system; on, Blender adopts the unit system the file declares. Either way, measure a known dimension after import.
Converting DAE to GLB in Blender
Use Blender when a viewer accepts only glTF, or when you want a smaller single-file GLB.
Use Blender 4.5, not 5.x. Blender’s 5.0 release notes state: “Collada (.dae) import & export has been removed.” The 4.5 manual already labels it “Collada (Legacy)” and warns it “will be removed in a future release.” Keep a copy of Blender 4.5 for this step.
- Import. In Blender 4.5, import the .dae with the Collada (Legacy) importer under File > Import. Decide on Import Units as described above.
- Check the scale. glTF is defined in meters (“The units for all linear distances are meters”), so the model has to be the right size before export. Measure a base cabinet and confirm a 24”-deep box reads about 0.61 m.
- Check the materials. Blender’s glTF exporter reads materials from the Principled BSDF node. Base color comes from that node’s Base Color input or an Image Texture connected to it. Metallic and roughness come from the node’s values or from a packed texture (roughness in green, metallic in blue). Look at each imported material in the Shader Editor and make sure the texture is actually connected to Base Color. A material that isn’t built this way may not export as you expect.
- Export. Use the glTF 2.0 exporter and choose glTF Binary (.glb), which packs “all mesh data, image textures, and related information” into one file. Leave +Y Up on, which follows the glTF convention. Turn on Punctual Lights only if your viewer uses lights from the file; they’re written with the KHR_lights_punctual extension. Images must be PNG or JPEG in glTF, and the exporter converts other formats automatically.
- Validate. Drop the GLB onto the Khronos glTF Validator, which runs in the browser and doesn’t upload the file, then open it in the Khronos glTF Sample Viewer and look around the whole room.
Expect faces to become triangles. The Blender manual notes that “quads and n-gons are automatically converted to triangles when exporting to glTF,” because glTF stores triangles only.
Naming surfaces for finish options
If the model will be used to show finish choices, every selectable surface needs a material that nothing else uses. In the kitchen remodel Coffered was built around, the client chose the perimeter cabinet color and the island color separately, along with flooring, countertop, backsplash, wall paint and trim. In Chief, that means assigning distinct materials to the island and perimeter cabinets before export, rather than fixing it later in Blender. Clear material names (“Island cabinet,” “Perimeter cabinet”) make the next step faster in whatever tool you use.
Using the export in Coffered
Coffered accepts DAE uploads directly, as well as GLB and FBX, so a Chief COLLADA export doesn’t have to go through Blender first. The designer then tags surfaces such as floor, cabinets and counters and binds finish options with client prices to each one. Blender is still useful when you want to repair materials or produce a smaller GLB.
Sources
- Chief Architect Premier X18 Reference Manual (Chief Architect, Inc.)
- Chief Architect Documentation (Chief Architect, Inc.)
- Importing and Exporting COLLADA Files, SketchUp Help (Trimble)
- Blender 5.0 release notes: Pipeline, Assets and I/O (Blender Foundation)
- Collada (Legacy), Blender 4.5 Manual (Blender Foundation)
- glTF 2.0 add-on, Blender Manual (Blender Foundation)
- glTF 2.0 Specification (Khronos Group)
- glTF Validator (Khronos Group)
- glTF Sample Viewer (Khronos Group)